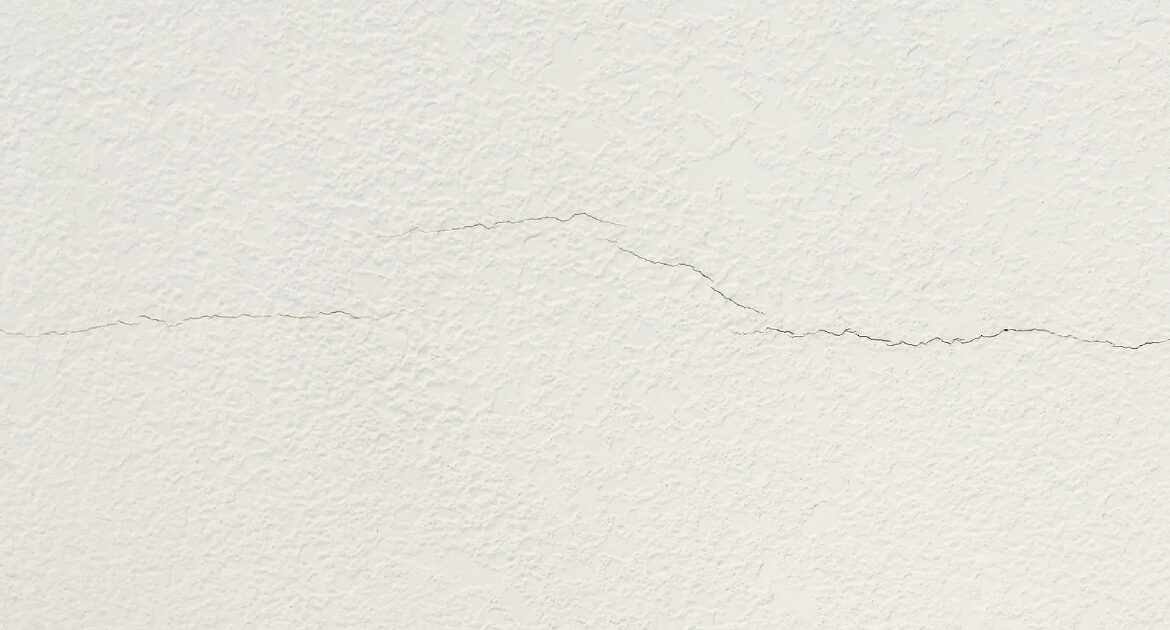
After spending a fortune on renovations and admiring your freshly done walls, it’s easy to assume that everything is flawless. But as time passes, you might start noticing tiny lines forming on the surface – hardly noticeable at first, but enough to make you do a double take. These are what we call hairline cracks. They’re thin, shallow, and often harmless, but they can be a source of concern if not addressed properly.
Hairline cracks are more common than most people think, especially on plastered walls. Whether you live in a new build or a decades-old home, factors like humidity, natural settling, or even poor plastering techniques can lead to these minor imperfections. Understanding why they appear and how to fix them can save you time, money, and peace of mind down the road.
What causes hairline cracks?
Before picking up any tools, it’s important to understand why hairline cracks form in the first place. Most commonly, they’re caused by:
- Natural settlement: All buildings shift slightly over time, and that movement can cause small cracks to form.
- Temperature and humidity changes: Plaster expands and contracts with moisture and heat, sometimes leading to surface cracks.
- Poor workmanship: If the cement plaster wall wasn’t mixed, applied, or cured properly during renovation, the risk of cracking increases.
- Drying too quickly: When plaster dries too fast due to heat or wind, it can crack on the surface.
These cracks are usually not structural, but should still be monitored. If you notice widening gaps or deeper lines, that’s when it’s best to get a professional inspection.
Tools and materials you’ll need
Before you begin the repair process, gather the necessary tools and materials. You don’t need anything fancy, just the basics:
- Safety goggles and mask (for dust)
- Scraper or utility knife
- Small paintbrush or broom
- Filler or patching compound suitable for plaster
- Sandpaper (preferably 120 to 180 grit)
- Clean cloth or sponge
- Paint or wall finish to match the existing wall
- Optional: Primer, depending on the final coat used
Step-by-step guide to fixing hairline cracks
1. Clean the crack area
Start by scraping along the crack lightly with a utility knife or scraper. This helps remove any loose material and widens the crack just enough for the filler to grip better. Use a small brush or broom to sweep away the dust and debris. A clean surface will ensure better adhesion.
2. Apply the filler
Using a filling knife or your fingers, apply a ready-mixed plaster filler or a product designed for cement walls into the crack. Press it in firmly to ensure the material gets deep into the opening. Smooth it over with the knife so that it’s level with the rest of the wall. Allow it to dry as per the product instructions, usually a few hours.
3. Sand the surface
Once the filler has dried completely, lightly sand the area to smoothen it out. Use a fine grit sandpaper and work gently to avoid damaging the surrounding plaster. Wipe away any dust with a damp cloth.
4. Prime and repaint
Depending on the size of the area and the type of paint you’re using, you might need to apply a primer first. Once it’s ready, paint over the patched area to match the rest of the wall. For best results, blend it outwards to avoid any visible lines.
Preventing future hairline cracks
While you can’t control everything, there are a few ways to reduce the chances of cracks returning:
- Use quality plaster and materials during renovation.
- Ensure proper curing time after plastering. Rushing this process can lead to future issues.
- Monitor humidity levels in your home, especially in rooms like bathrooms and kitchens.
- Choose the best plaster finishes for each room, as different areas have varying moisture and wear conditions.
Keeping your home well-maintained also helps detect small issues before they become larger problems.
When should you be concerned?
Hairline cracks are usually harmless and easily fixable. However, if you notice:
- Cracks wider than 1.5mm
- Diagonal cracks forming near windows or doors
- Visible gaps or movement along the wall
- A pattern of spreading cracks
These could be signs of structural issues, water ingress, or poor construction. In such cases, it’s best not to attempt DIY repairs and instead call a professional.
Conclusion
While fixing hairline cracks on a cement plaster wall is manageable for most homeowners, it’s perfectly okay to feel unsure or cautious. Sometimes the cracks are deeper than they appear. Other times, improper repairs can make the issue worse in the long run. If you’re ever in doubt, seeking professional advice is always the safer option.
Leong Yik Engineering & Contractor offers expert wall and plastering services in Singapore. Whether you’re dealing with stubborn cracks, planning a renovation, or just want peace of mind, our experienced team is ready to help. Don’t let a few hairline cracks grow into bigger headaches; get in touch with us for a trusted opinion and quality workmanship you can rely on.

